Batch Resize Images in Photoshop – Speedy Mockup Tool for Fast Image Processing
Resize Image
Resizing a large collection of images can be a daunting task, especially when maintaining aspect ratios and image quality is critical. Whether you’re a graphic designer or an online seller managing product photos, finding a fast and efficient method is key. In this post, we’ll dive into traditional image resizing methods and introduce a quicker, more streamlined solution: the Resize Script: Bulk PNG Resizing Tool for Photoshop.
Traditional, Time-Consuming Methods
- Manual Resizing for Each File: Resizing images one-by-one involves opening each file in Photoshop and manually adjusting the dimensions. This can become a marathon task if you’re handling hundreds of images.
- Maintaining Aspect Ratio: Ensuring that every image keeps its original proportions adds complexity, as you need to carefully check each one.
- Limited Flexibility in Batch Processing: Some batch tools exist, but they often offer limited customization and can be difficult to configure for specific needs.
Introducing the Speedy Mockup Tool: Bulk PNG Resizing in Photoshop
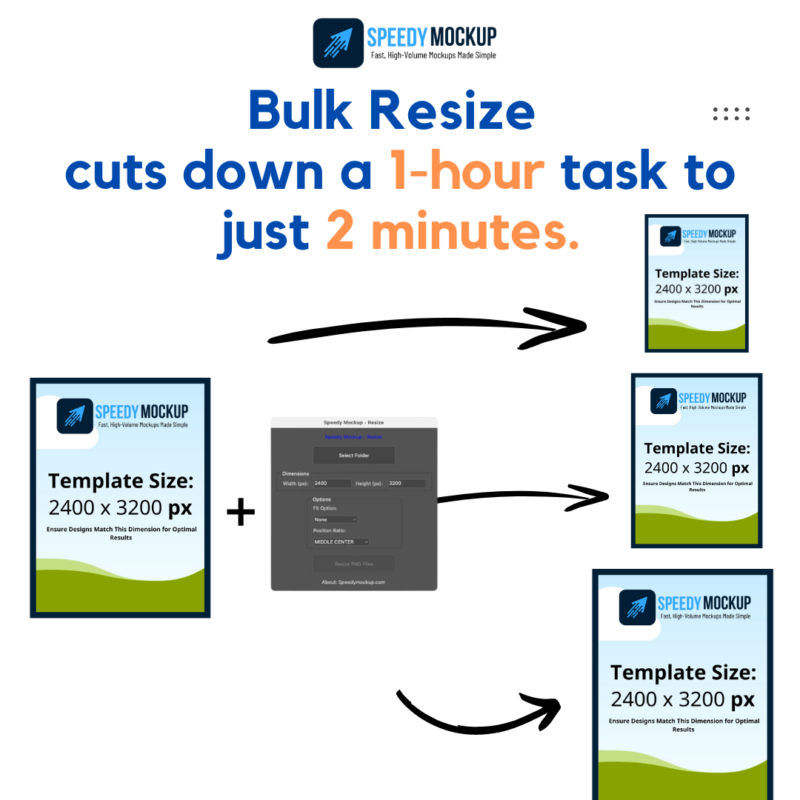
Speedy Mockup provides a simple, customizable solution for resizing large batches of PNG images. Here’s how to use the tool:
1. Download and Install the Script
- Download the Resize Script from the source and follow the provided installation steps to integrate it with Photoshop.

2. Prepare Your Images
- Organize all the PNG images you need to resize in one folder, ensuring they are correctly named and formatted.
3. Open the Script in Photoshop
- Launch Photoshop, go to File > Scripts > Browse, and select the Resize Script to load it.
4. Configure Your Settings
- Set Output Folder: Choose where the resized images will be saved.
- Define Size Parameters: Input your desired width and height for the resized images.
- Position Ratio: Select how you want the images to be positioned within the specified dimensions (e.g., Middle Center, Top Center, Bottom Center).
5. Run the Script
- Hit ‘Run’ and the script will automatically resize each image according to your settings and save them in the destination folder.
6. Review and Finalize
- After the process is complete, review your resized images. You can make any last-minute adjustments if needed.
Why Choose the Speedy Mockup Tool?
By using the Batch Resize Product Images in Photoshop – Speedy Mockup Tool, you can save hours of work, ensuring that your images are resized consistently and efficiently. Whether you’re managing a small product catalog or a massive image collection, this tool will streamline your workflow.
